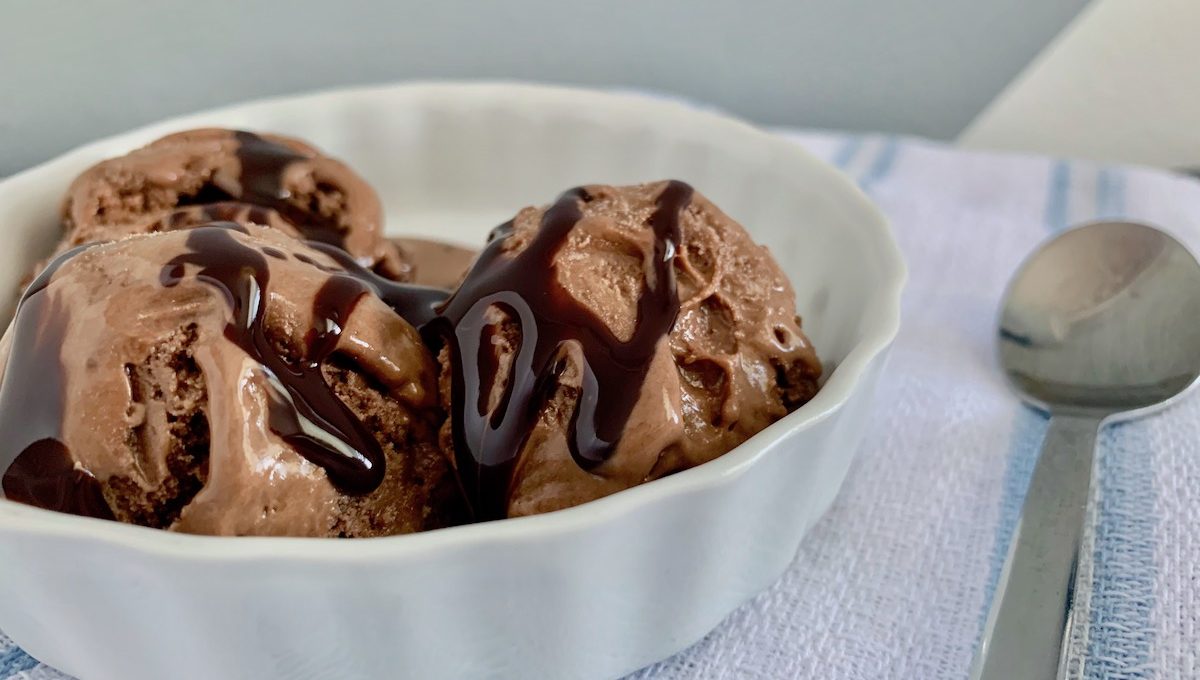
This no churn chocolate ice cream recipe is thick, creamy, and luxurious. Its double chocolatey goodness not only comes from cocoa powder, but we have also added a few cheeky chocolate chip bits for that extra explosion of flavor and some added crunch. A must try recipe for summer! Be sure to watch the video so you can easily recreate this recipe at home.
Disclaimer
*This no-churn chocolate ice cream recipe does make use of raw eggs so if you are not too keen on that idea you can replace it with a cup of pasteurized egg.
The easiest no churn chocolate ice cream recipe
As a nomadic couple, Maryim and I are limited to the equipment provided at the airbnbs or hotels we stay at on our travels. As of yet we have not had an airbnb that came with an ice cream churner. However that has not stopped us from making our own ice cream.
We’ve used this recipe a number of times and have consistently been happy with the results. The recipe utilizes basic ingredients that can be found at most stores around the world and requires very basic equipment. As long as you have access to a couple of bowls and a freezer you are pretty much good to go.
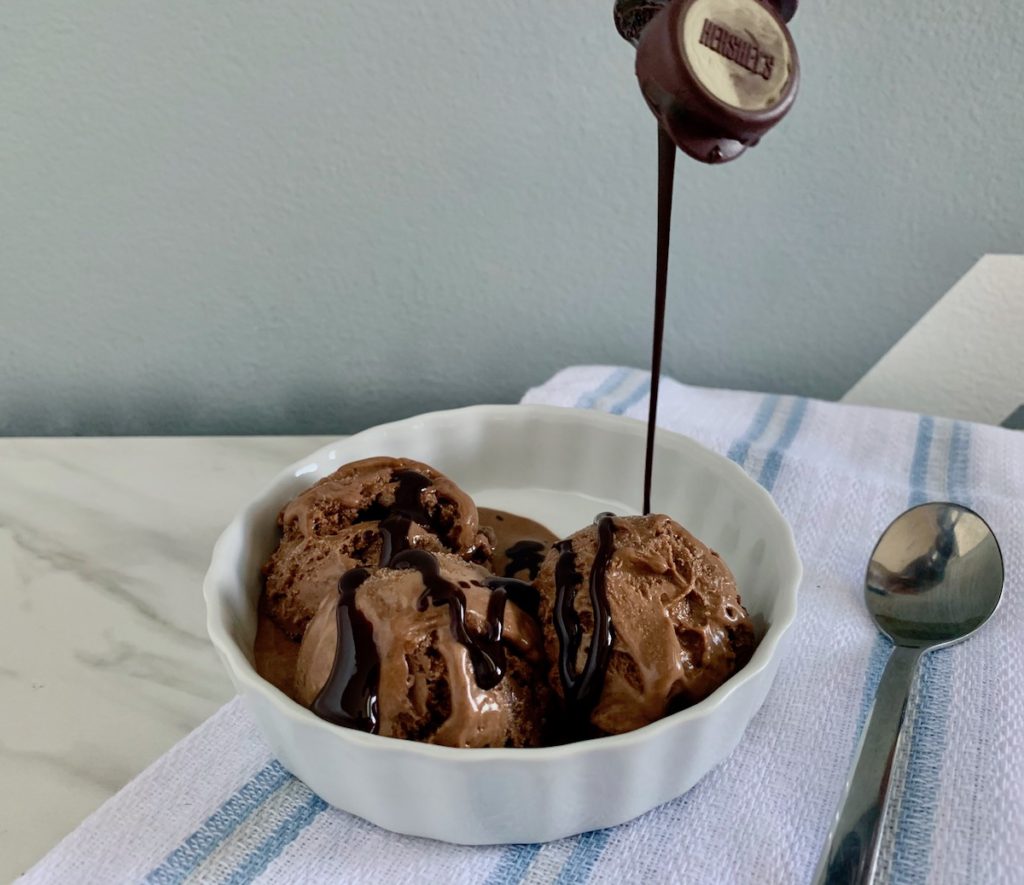
What you are going to need for this recipe
Equipment:
- 2 mixing bowls (for the ice cream mixes)
- Electric mixer or hand whisk
- Baking spatula
- Bread tin (9 X 5 inch) or any other freezer-friendly container of similar size (this homemade chocolate ice cream recipe yields about 48 ounces of ice cream)
- A freezer for obvious reasons (make sure you have cleared off a shelf for storing)
Ingredients:
- Cocoa powder
- Chocolate chips
- Confectioners sugar
- Heavy whipping cream
- Eggs
- Condensed milk
*For exact measurements and steps check out the recipe card at the bottom of the page.
How to get that double chocolatey flavor?
In this no churn chocolate ice cream recipe we use cocoa powder and chocolate chips to get that rich chocolatey flavor. Even though the cocoa powder gives it that deep brown color we needed to add a nice crunchy element. Enter the chocolate chips! Instead of using chocolate chip bits you can replace it with crushed chocolate or chocolate shavings.
How to get the perfect texture for this ice cream recipe
When you mix the two bowls of ingredients together it is important that you fold the mixtures gently so you don’t flatten it. If you mix it too vigorously the ice cream may turn out to be too hard and heavy once it has frozen.
While the ice cream is in the process of freezing it’s also important to take it out after 3 hours to give it a gentle mix. This will improve the texture and evenly distribute the chocolate chip bits throughout the ice cream. You will notice a slight loss of volume.
The final result should be thick and creamy but not too dense. When you spoon the ice cream out of the container it should have a distinct ‘tree bark’ like texture to it.
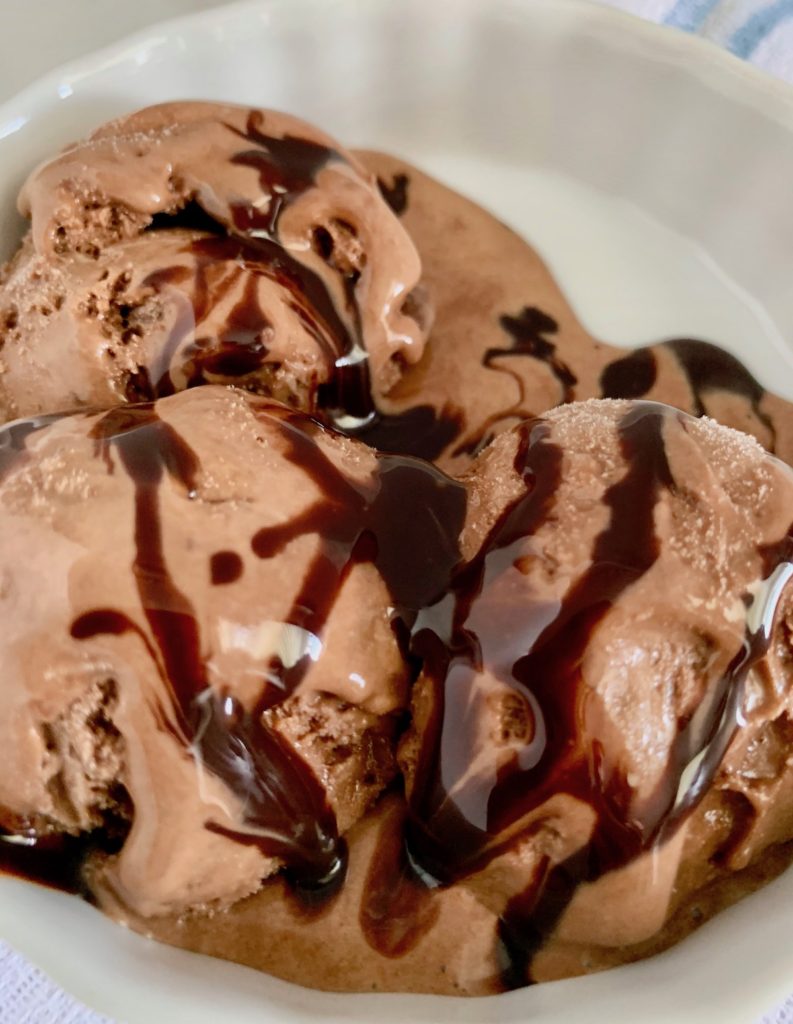
Perfect ice cream recipe for the summer
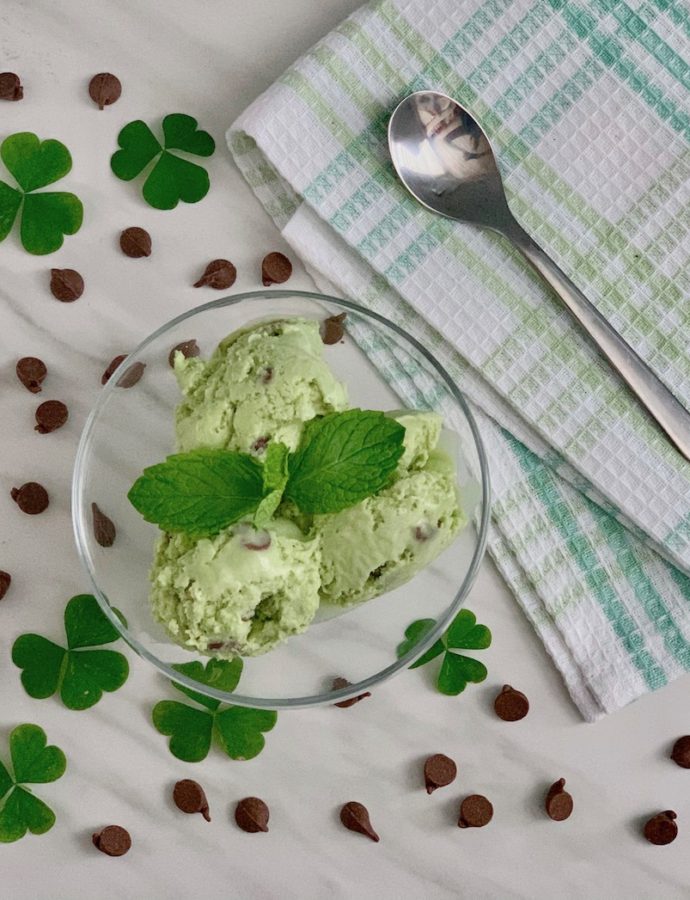
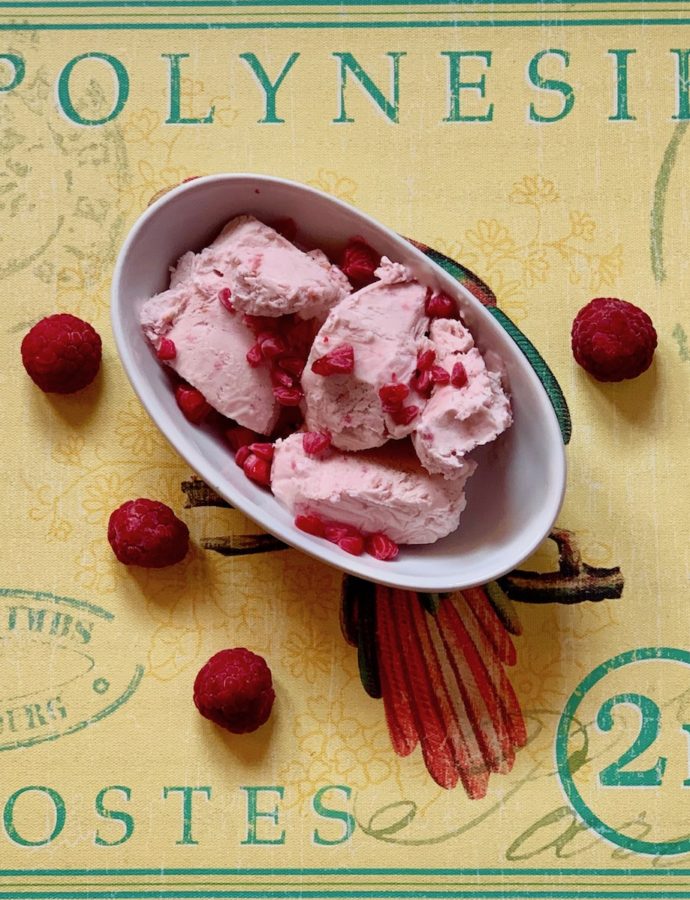
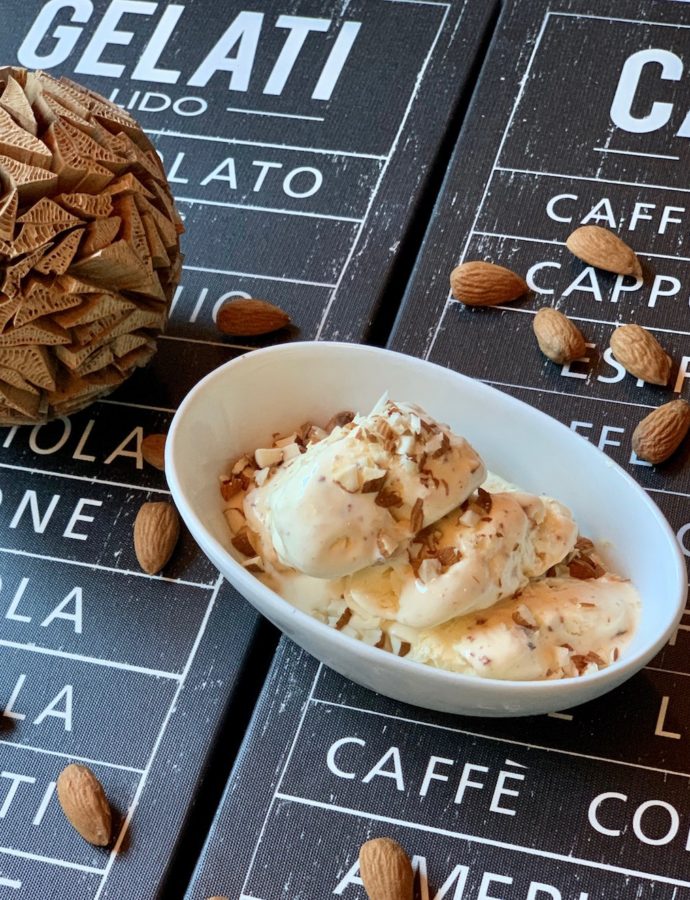
If you’re looking for something refreshing to cool you down this summer this no churn chocolate ice cream is the perfect treat. In case you’re not a chocolate lover check out our other no churn ice cream flavors below for some great variations!
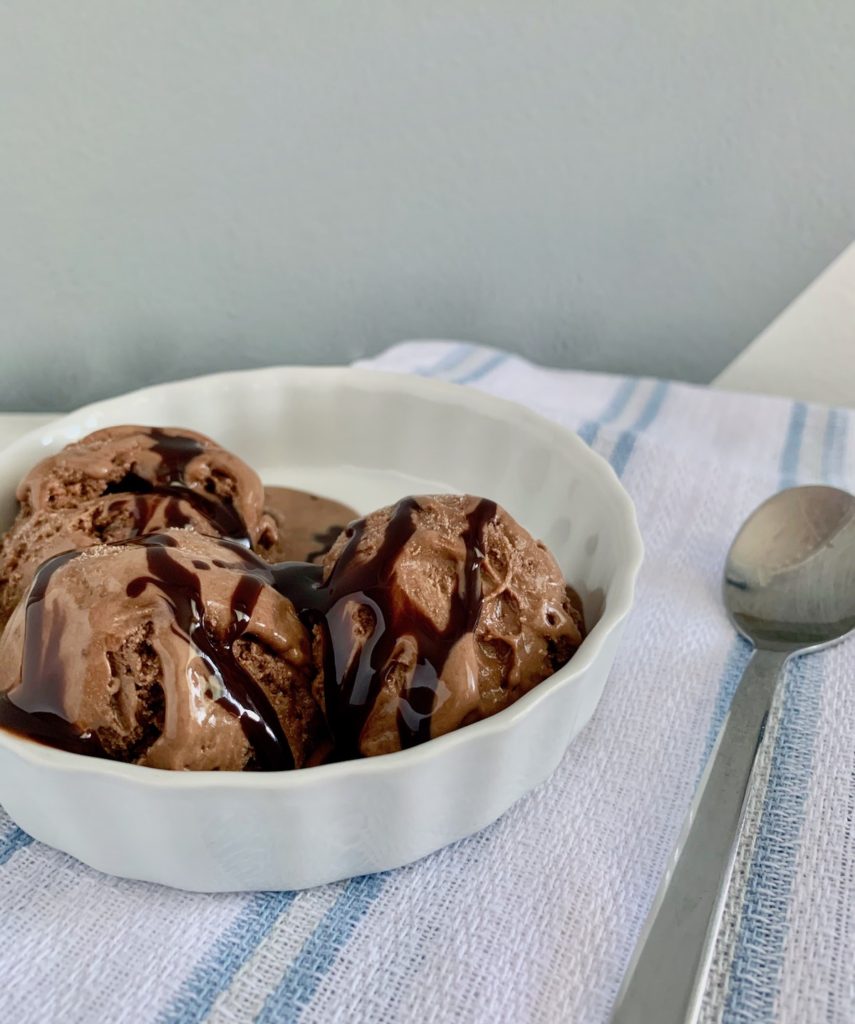
No Churn Chocolate Ice Cream
Equipment
- electric mixer or hand whisk
- Non stick frying pan
- mixing bowls
- Baking spatula
- Fine sieve
- Bread tin
Ingredients
- 6 Egg yolks
- 4 tbsp Confectioners sugar
- 6 tbsp Cocoa powder
- ¾ cup Mini chocolate chips
- 14 oz Condensed milk 1 can
- 2 cups Heavy whipping cream
Instructions
Ice Cream
- Make sure you have 2 large mixing bowls. In one bowl whisk the egg yolks and confectioners sugar until it is light and fluffy with a creamy color. Then whisk in the condensed milk, cocoa powder and chocolate chips.
- In the second mixing bowl whisk the cream until soft peak.
- Slowly add the contents from the first bowl into the cream mixture, while gently folding the contents until they are well mixed. Don't mix vigorously as this will flatten the mixture.
- Gently pour the ice cream into a 9.25 x 5.25 x 2.75 inch bread tin or similar sized freezer friendly container. Then place the container into the freezer.
- Give the ice cream a stir after 2-3 hours. By then it should be semi frozen (this step is optional but will improve the overall texture of the ice cream). In 6 hours the ice cream will be ready to eat.
- This recipe should yield 48 liquid ounces of ice cream.
