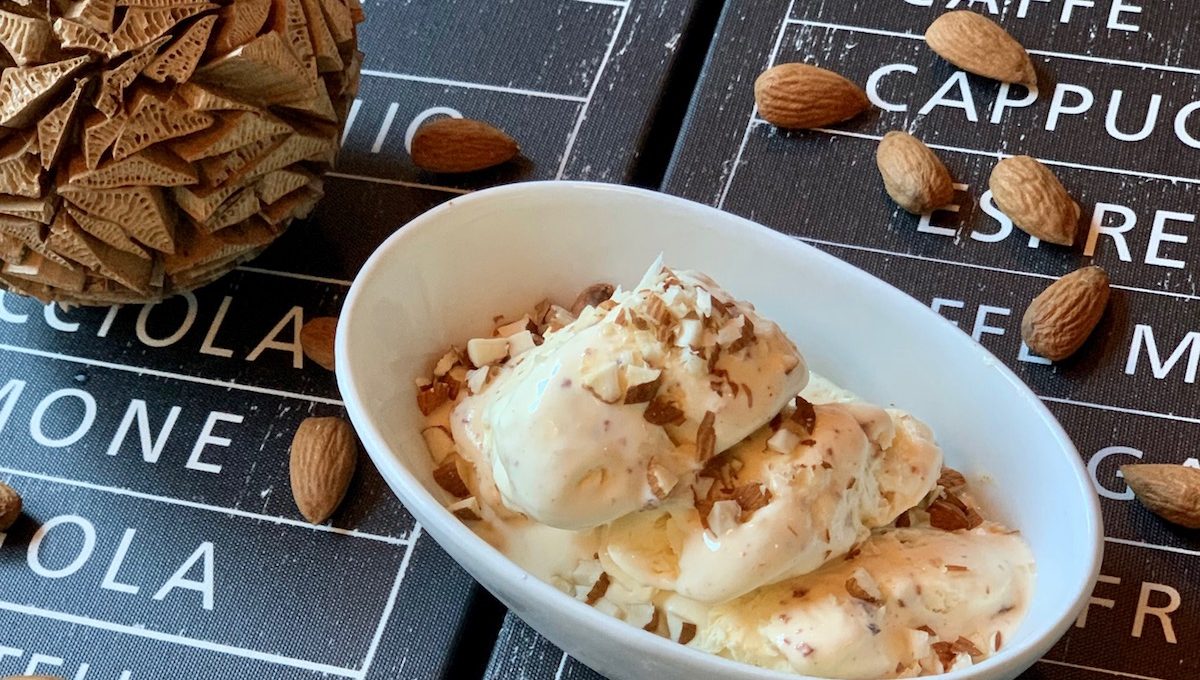
“I Scream, You Scream, We All Scream for Almond Praline No Churn Ice Cream!”
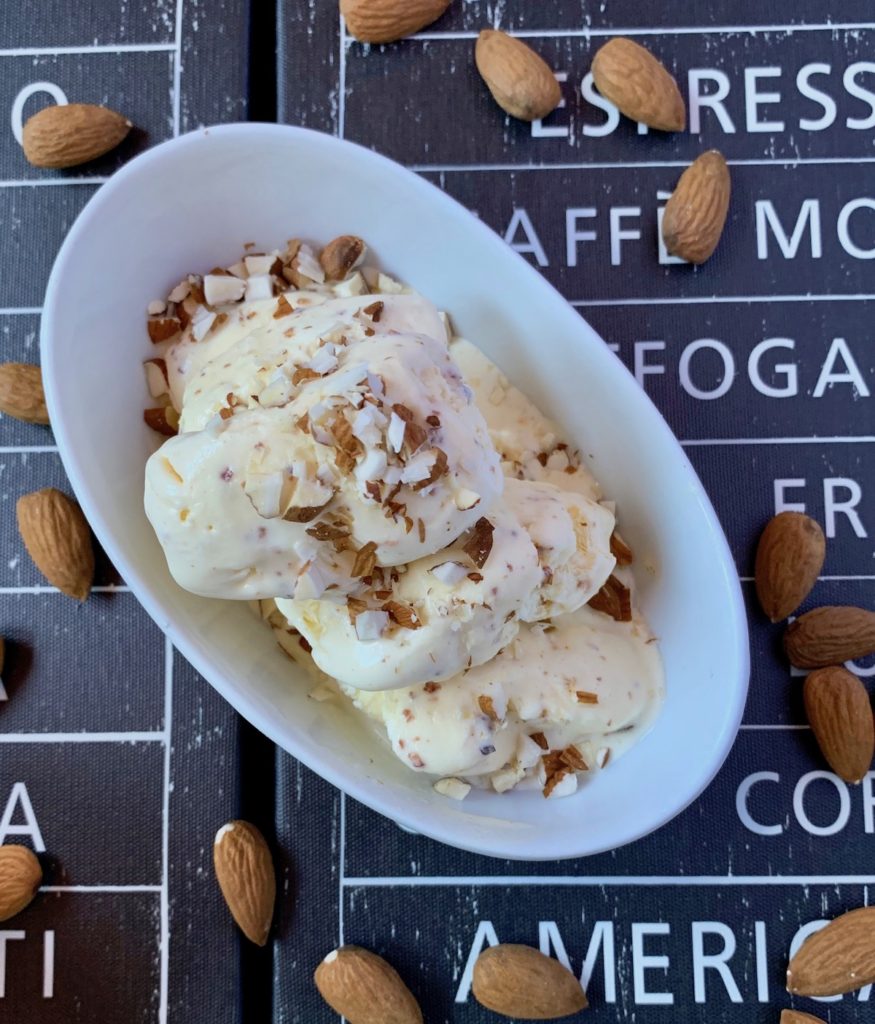
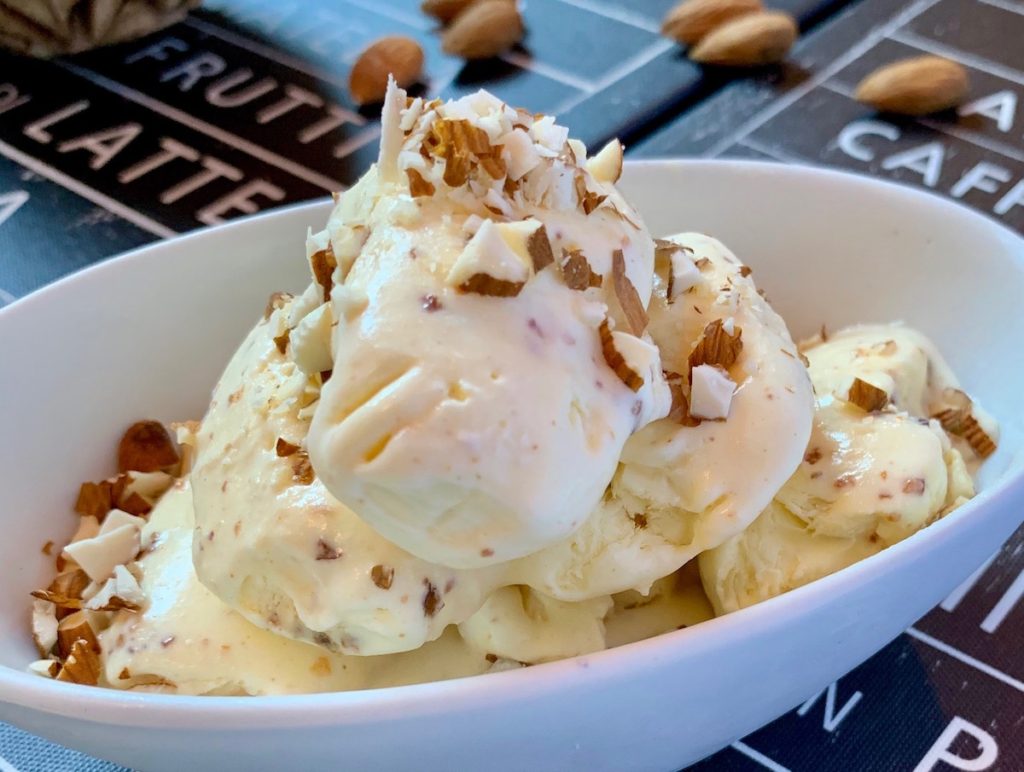
This is by far my personal favorite homemade vanilla and almond praline ice cream recipe. It’s not only easy to prepare but does not require an ice cream churner which is perfect for those that like to make ice cream while traveling. You’ll be enjoying a delicious, home made ice cream in T-minus 6 hours.
Disclaimer!
Please be aware you will be using raw egg yolk for this recipe. If this concerns you then you can change out the raw egg for heat treated or pasteurized eggs. Please visit our disclaimer page for any further information.
No ice cream churner required for this one
Yes this homemade vanilla and almond praline ice cream is simple to make but there area few things you are going to need before tackling this recipe. As this title suggest you wont need an ice cream churner for this one but you will need…
Equipment
- Mixing bowls (we use these as our personal favorites)
- An electric mixer (If you don’t have one of those a simple whisk will do just fine: It will require a great deal more work though, just need to put that out there. You will get a forearm workout)
- A spatula (not the kind you use to flip eggs but a baking spatula)
- A non stick bread tin for storage (however any 30 – 35 fluid oz square/rectangular container will do as long as it’s freezer friendly)
- Baking tray (to toast almonds)
- For obvious reasons you are going to need a freezer
That should do it for the equipment. Now for the ingredients you will need.
- Eggs (1 cup pasteurized egg)
- Confectioners sugar
- Condensed milk
- Heavy whipping cream
- Vanilla extract
- Almonds
- Granulated sugar
*Please see the recipe card at the bottom of the page for exact measurements and methods
No Churn vs Churned Ice Cream
- There’s the obvious no need for a churner with no churn ice cream.
- No churn ice cream is not as stable as its churned counterpart, so it melts pretty quickly when taken out of the freezer.
- It’s a lot lighter and fluffier than churned ice cream which means you might want an extra scoop to feel satisfied (No judgement here!)
- No churn ice cream takes little effort to make and is still extremely delicious (unless you are whisking by hand, then it may take a little effort on your part but it will all be worth it).
One of the easiest ways to make ice cream
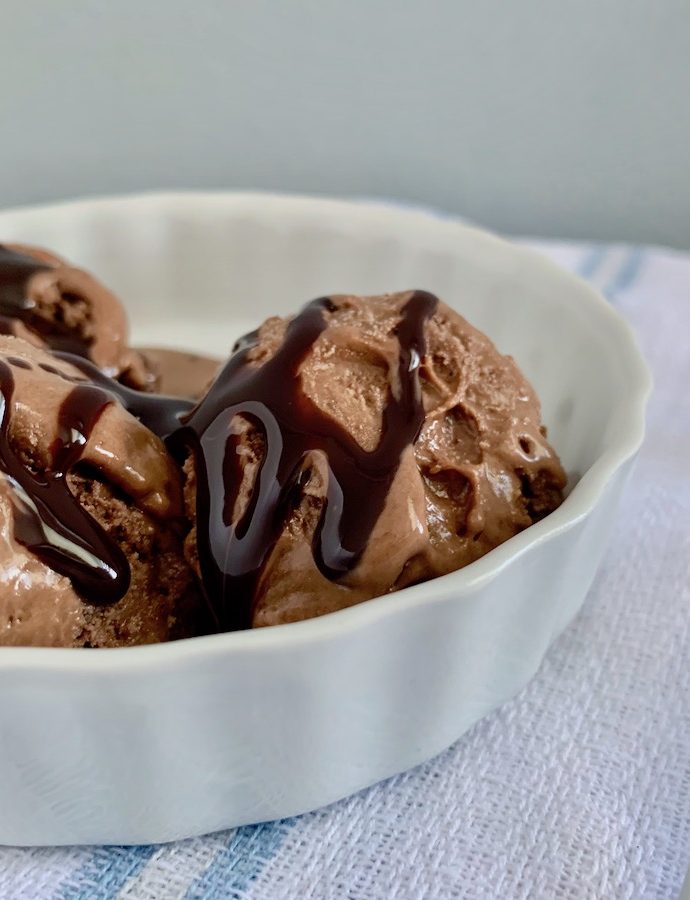
In this recipe the flavor I’ll be incorporating is almond praline however you can play around with any flavor you would like. Keep in mind that sugar levels will be different in certain ingredients so you will need to adjust the sweetness as needed when experimenting. Here are some ideas!
- Mixed berry coulis
- Chocolate
- Pistachio
- Mango coulis
- Plain vanilla
- Banana
How to make almond praline
This step is probably the most complicated so I wont skip any details in its method:
Start off by toasting the almonds. Preheat your oven to 300 ° Fahrenheit. Place the almonds onto a baking tray and into the oven. After 7 minutes use a wooden spoon to move them around then leave them for another 5 minutes (be careful not to burn them). Once they release their nutty aroma they are ready to come out.
Pulverize the almonds either in a food processor or by putting them in a ziplock bag and smashing them using a blunt object such as a rolling pin or base of a pot.
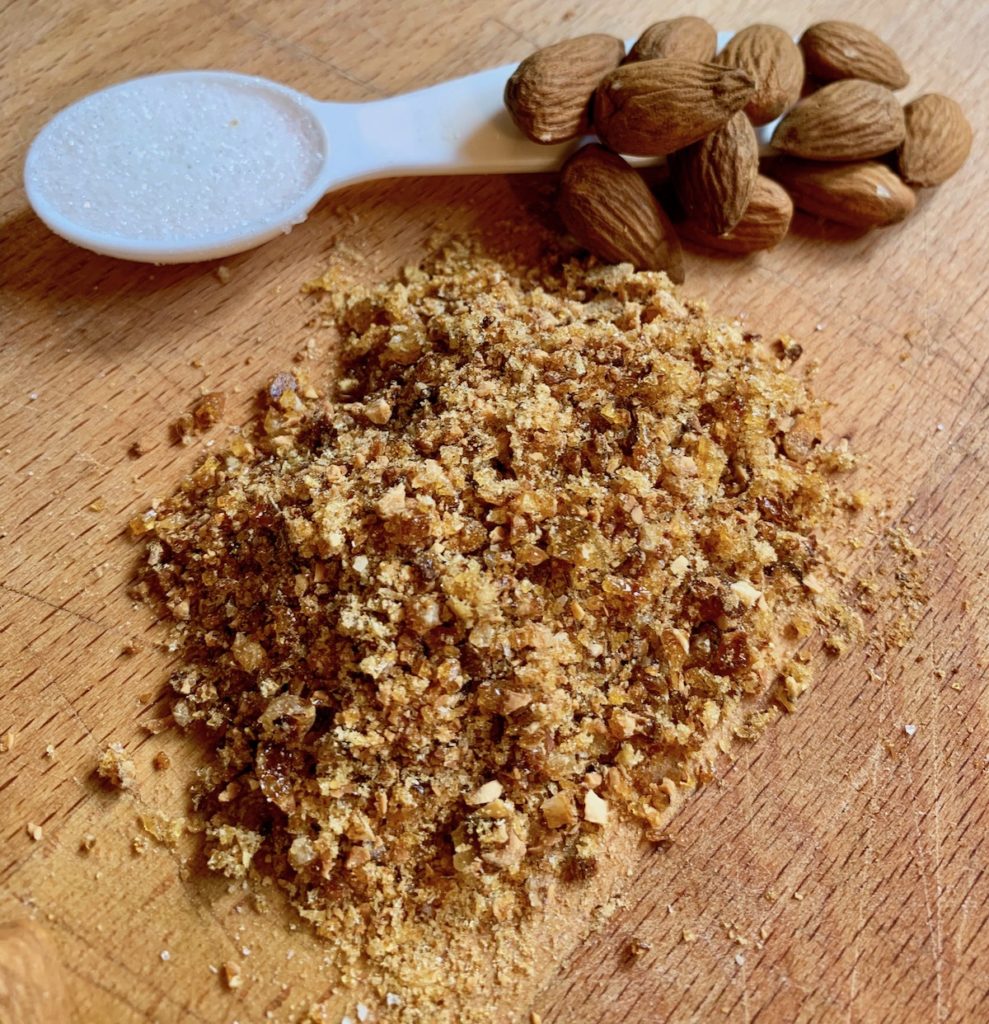
Next, pour the sugar into a frying pan and let it melt, do not mix the sugar with a spoon but gently swirl the pan around to ensure all the sugar melts evenly. Once the sugar has turned golden brown add the almond bits. Move the pan around to incorporate the almonds. Pour the mixture onto a piece of parchment paper then place another piece of parchment on top. Begin flattening the almond brittle between the two pieces of parchment either with a rolling pin or the base of a pot. Once the brittle has cooled it’s time to pulverize it into tiny pieces. Using a blunt object like the rolling pin beat it until it resembles large grains of sand.
Tips on making this ice cream
- Make sure you have everything ready, this means all your equipment and tools are ready for use and all your ingredients are measured out. This will make the process a lot smoother in the end.
- Check to see if you have enough space in your freezer. It can get very frustrating if you are finished with something only to find out later you have no where to put it.
- If you don’t have an electric mixer, no problem, this whole recipe can be done whisking by hand. It just takes a little longer and requires more effort.
- When whisking the cream by hand, try whisking away from you as this will prevent little drops of cream splashing onto your clothes (just in case, always wear an apron).
- Pulverizing the praline can be a messy job. So break up the praline into chunks and put it into a ziplock or between two pieces of parchment paper, then beat the hell out of it. Careful not to turn it into dust because having crunchy little bits of praline in the ice cream adds a nice crunchy texture.
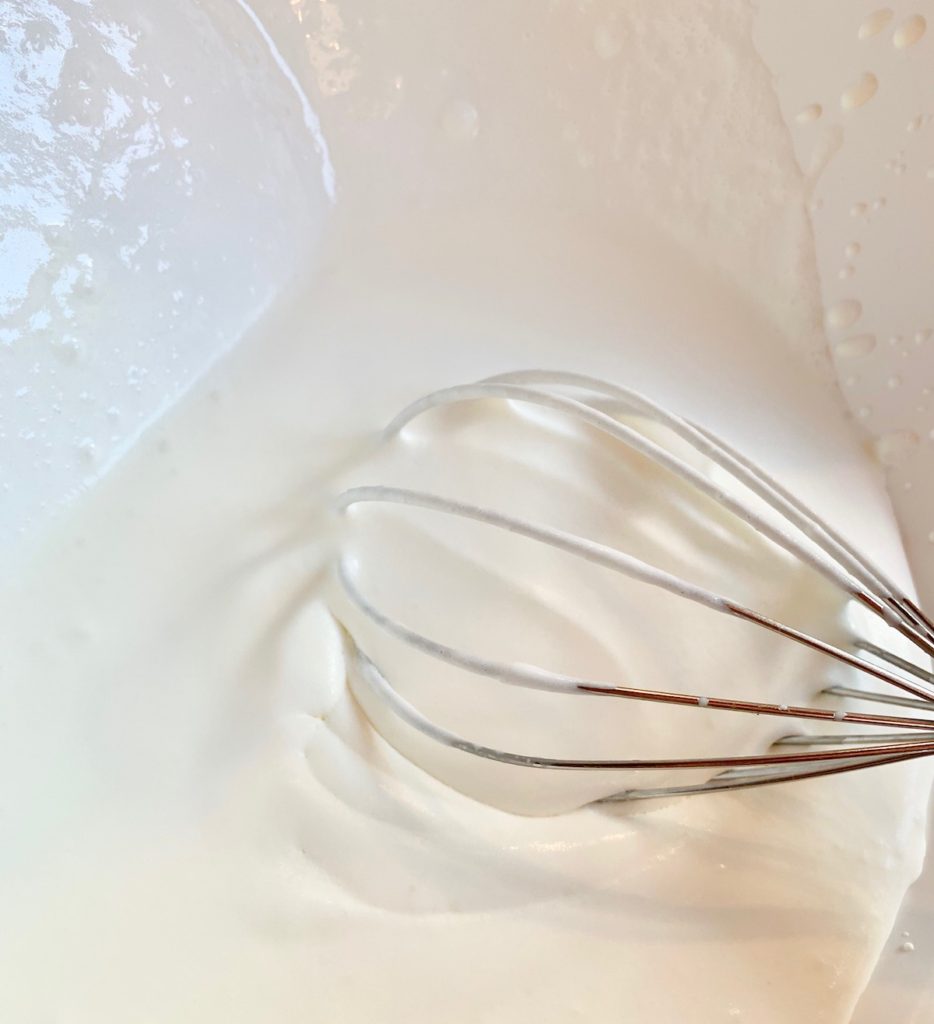
- The texture and consistency is very important to any ice cream and this includes density (how light this ice cream feels in your mouth). To get the density just right make sure not to over whip the cream as this will cause the ice cream to be too light and fluffy. Whip it until it’s firm yet still slightly runny, just before it is able to start forming soft peaks.
- Folding in the ingredients is key. The best tool to use is a baking spatula. PLEASE DO NOT whisk the ingredients when mixing them together as this will completely flatten the cream.
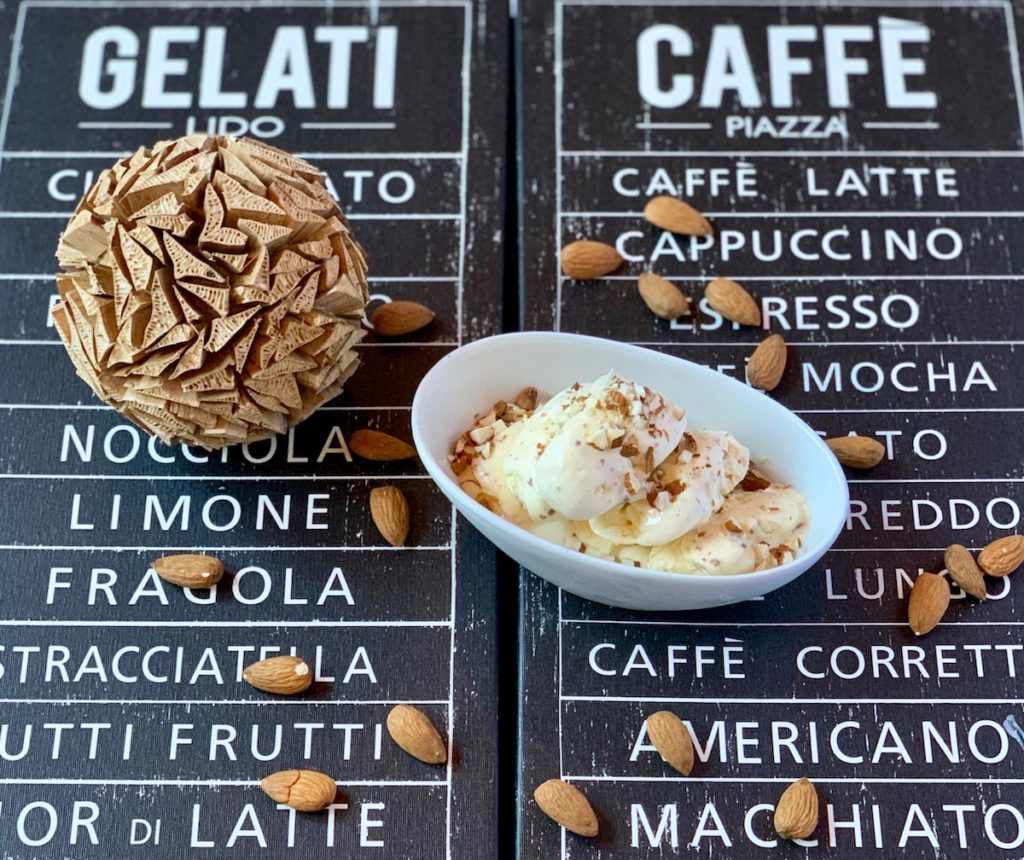
No Churn Almond Praline Ice Cream
Equipment
- 2 mixing bowls
- Whisk or electric mixer
- Baking tray
- frying pan (non stick if possible)
- baking spatula or wooden spoon
- freezer friendly container
Ingredients
Almond Praline
- 15 Almonds
- 10 tbsp White sugar
Ice cream
- 6 Egg yolks (use 1 cup pasteurized eggs if you're concerned about consuming raw egg)
- 14 Oz Condensed milk
- ¼ cup Confectioners sugar
- 2 cups Heavy whipping cream
- 1 tsp Vanilla extract
Instructions
Almond Praline
- Preheat your oven to 300 degrees Fahrenheit. Place the almonds onto a baking tray and place in the oven for 7 minutes. Then move them around with a wooden spoon and toast for an additional 5 minutes until they have started releasing their nutty aroma. Always keep an eye on them so they don't burn. Remove them from the oven.
- Pulverize the toasted almonds either in a food processor or by hand. Do not pulverize it to dust. The almonds should still be slightly chunky.
- On a stove top pour the sugar into a non stick frying pan and set to high heat. Once it starts melting lower the temperature and shake the pan around in order to evenly melt the sugar. If there are still unmelted clumps of sugar you might need to help it along by using a wooden spoon but do not stir. Once the sugar has turned golden brown (not dark brown) sprinkle the almonds over the surface of the caramel and once again shake the pan to incorporate the almonds into the melted sugar.
- Remove from the heat and pour the praline onto a piece of parchment paper. Place another piece of parchment on top of the praline and begin rolling it out or flattening with the base of a pot. Leave it to cool.
- Once cooled smash the praline with a blunt object (like a rolling pin) until it resembles large grains of sand. Smash it either while in a ziplock bag or between two pieces of parchment to prevent a big mess. Keep the praline to one side so we can add it to the ice cream later.
Ice Cream
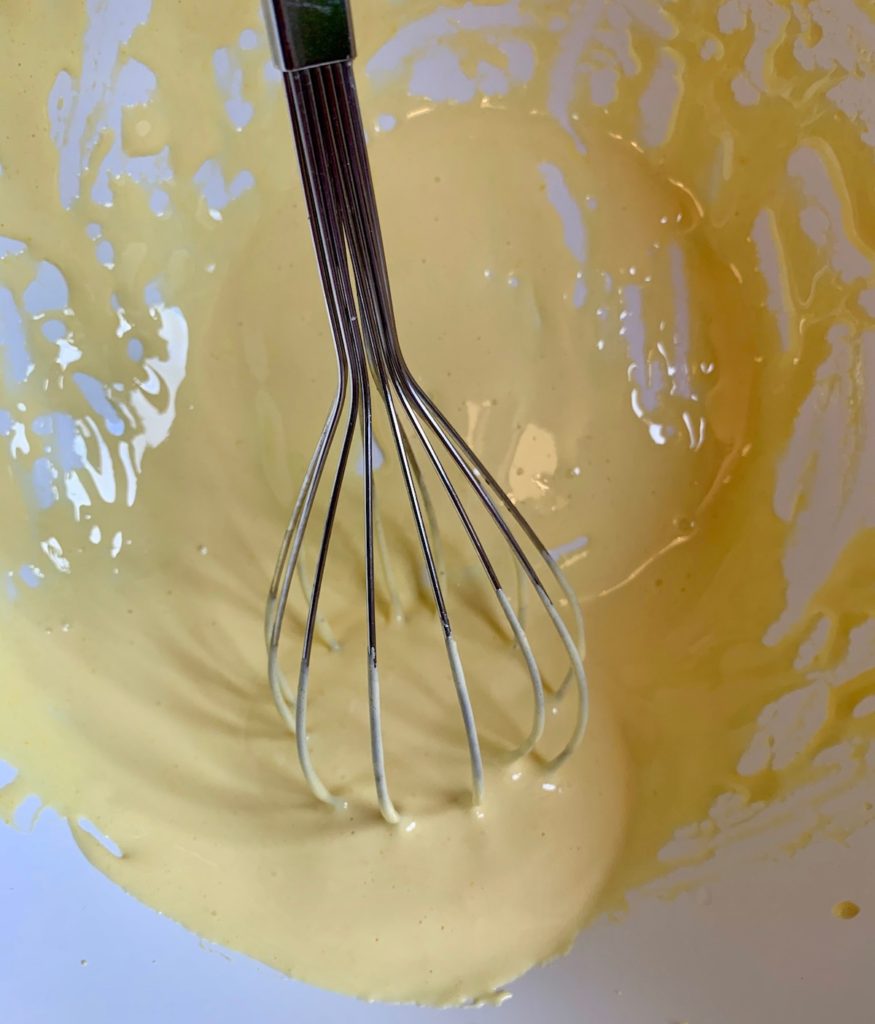
- Make sure you have 2 mixing bowls, clean and ready for use. In one of the mixing bowls add the egg yolk, confectioners sugar, condensed milk and vanilla essence. Whisk the mixture until it is a light creamy color (you can whisk by hand or by using an electric mixer).
- In the second mixing bowl whisk the heavy cream to just before soft peak. It should still be slightly runny.
- To finish the ice cream, scrape the egg mixture into the cream by using a baking spatula or wooden spoon. Try not to leave anything behind. Add the praline to the same bowl. Now lightly fold the components with a baking spatula to incorporate all the ingredients evenly. Do not be too vigorous while folding as this will have an effect on the consistency of the ice cream later on. Once everything is mixed in well, pour the mixture into a freezer friendly dish and freeze for 6 hours.
